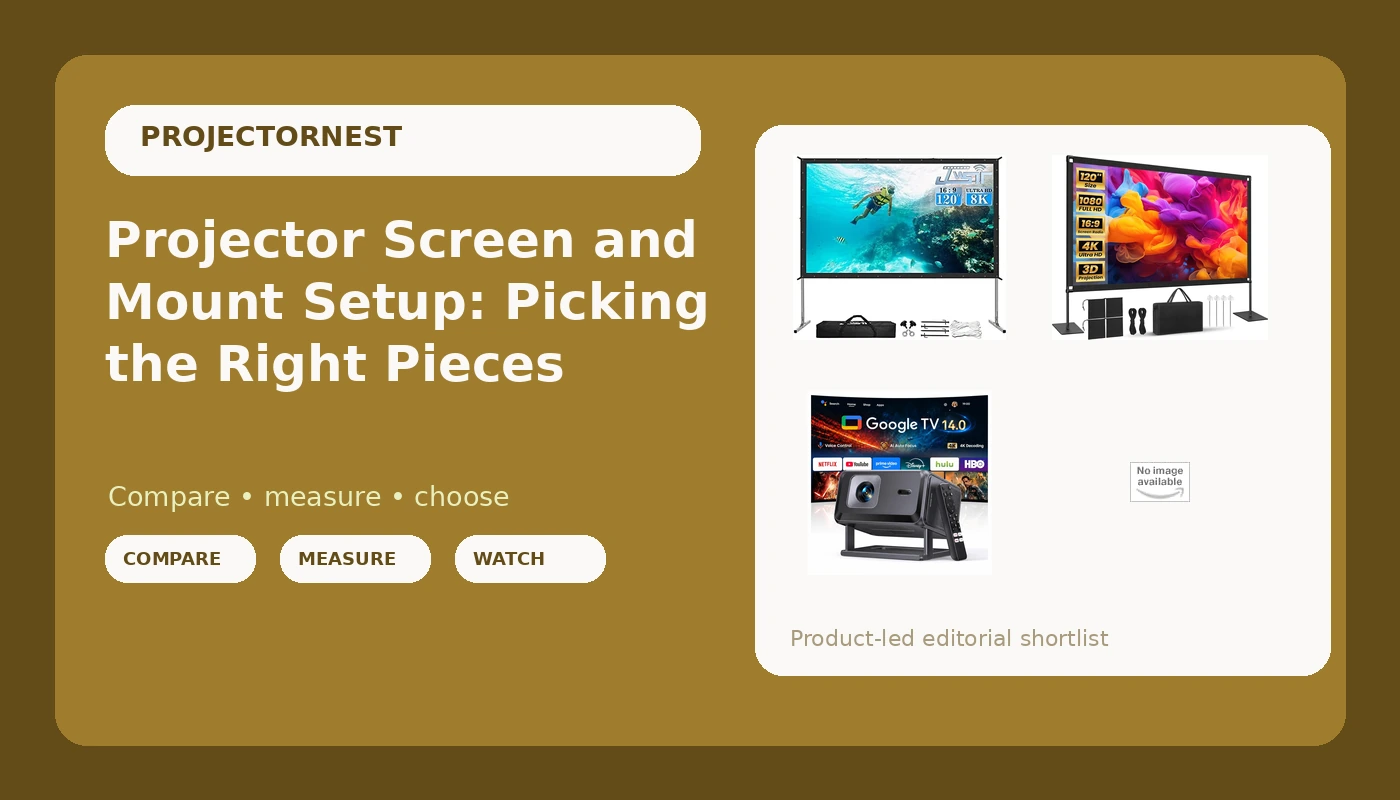
A projector is the piece everyone researches, and it is also the piece that quietly depends on everything around it. The image you actually see is the result of three things working together: the projector, the surface the light lands on, and the geometry between them. Get the projector screen and mount setup wrong and a perfectly capable projector looks washed out, keystoned, or simply too small for the room you put it in.
That is the trap. People spend weeks comparing projector specs, then hang the unit in front of a beige wall, set it on a coffee table at an angle, and wonder why the picture never looks like the demo. The supporting gear is not an afterthought. It is half the result.
This guide looks at four pieces that make up that supporting setup: a portable smart projector that arrives with a streaming stick, two fixed screens at different sizes, and a universal ceiling mount. The point is not to sell you all four. The point is to help you work out which piece your room actually needs first.
Related: How Room Light Changes What a Projector Can Do →
Quick answer
Decide the screen and the mounting position before you commit to a projector, because those two choices set the image size and the throw distance, and the projector has to fit inside them. In short: a portable smart projector suits renters and rooms that change, a 120-inch screen suits mixed indoor and outdoor use, a 150-inch screen suits a dedicated room with space for a large image, and a ceiling mount suits anyone who wants the projector out of the way permanently.
Four useful options
| Model | Best fit | What stands out |
|---|---|---|
| Portable Smart Projector [Bundled with Google TV Stick 14.0 & 4K Support & Dolby] with WiFi and Bluetooth HDR10,Ceiling Mini Movie Short Throw Projector Outdoor Auto Focus for Home Theater Bedroom | Renters, bedrooms, backyard nights | Bundled Google TV Stick 14.0, auto focus, short throw design |
| Projector Screen 150 Inch | Dedicated rooms with a long viewing distance | 150-inch diagonal image area |
| Projector Screen 120 inch,Outdoor Projector Screen with 3-Layers PVC | Patios, yards, mixed indoor use | 120-inch diagonal, three-layer PVC surface |
| Universal Projector Ceiling Mount - White | Permanent ceiling installs | Universal mounting design, white finish |
The all-in-one starter: Portable Smart Projector [Bundled with Google TV Stick 14.0 & 4K Support & Dolby] with WiFi and Bluetooth HDR10,Ceiling Mini Movie Short Throw Projector Outdoor Auto Focus for Home Theater Bedroom
The trade-off with any portable projector is light output. A small chassis cannot move as much air or hold as large an optical engine as a fixed-install unit, so portability and peak brightness pull against each other, and that is true across the category rather than specific to one model. What the bundled streaming stick changes is convenience: you are not shopping for a separate media player, and the wireless connections are already there. Auto focus matters more than it sounds when a projector moves between rooms or gets carried outside, because a projector that has to be refocused by hand every single time tends to stop being used.
The big-room screen: Projector Screen 150 Inch
A 150-inch screen is a commitment, and the reason is arithmetic rather than opinion. Image brightness works out as projector light output divided by screen area, so the same projector that looks punchy on a 100-inch surface looks noticeably dimmer on a 150. That is not a flaw in the screen. It is the reason big screens and bright rooms do not get along, and it is the first thing to check before you buy at this size. What the extra area buys you is immersion at a longer seating distance, which suits a room where the back row is far enough away that a smaller image would feel like watching television.
The outdoor screen: Projector Screen 120 inch,Outdoor Projector Screen with 3-Layers PVC
Outdoor viewing is the hardest case for any projector, because you cannot control the light. A 120-inch surface is a more forgiving size than a 150 for exactly that reason: less area to fill means the projector has an easier job reaching a usable image. The three-layer PVC construction is the detail worth noting on this one, since a screen that travels outside has to tolerate being set up, taken down, and stored between uses. Plan for wind, plan for weight, and plan for a way to anchor the frame. Then treat dusk as your start time rather than waiting for full dark, because outdoor movie nights live or die on when you press play.
Prices and availability may change. Product images, names, and retailer links must be matched by verified ASIN. Do not state a current price, rating, stock status, or measured result without current evidence.
The permanent mount: Universal Projector Ceiling Mount - White
A ceiling mount solves the problem that ruins more setups than any spec sheet issue: placement. Sitting a projector on a table usually forces keystone correction, and keystone correction crops and resamples the image to fake a rectangle, which costs you resolution and sharpness. Mounting the projector so its lens sits square to the screen avoids that entirely. The catch is that a mount is only as good as what it is attached to. Find a joist or use an anchor rated for the load, and check the mounting pattern and thread size against your projector before you drill anything.
Why the screen matters as much as the projector
A screen is not a neutral surface. It is an optical component, and it changes the image in ways a projector cannot compensate for. Screen gain describes how much light the surface reflects back toward the audience: a matte white screen with a gain around 1.0 spreads light evenly and holds up from wide seating angles, while a higher-gain surface pushes more light straight back at the viewer but narrows the sweet spot. Ambient light rejecting screens take a different approach, using a tinted or structured surface to absorb light arriving from above and the sides while reflecting light coming from the projector's angle.
Color matters too. A grey screen lowers overall brightness slightly but deepens perceived black level, which is why grey surfaces are common in rooms where some light leaks in. A plain white wall, by contrast, reflects everything, including the light bouncing around the room, and it has no defined edge, so the image has no defined border. That is the difference between a projected picture and a projected suggestion.
The last piece is size against brightness. Because brightness is light output divided by area, the screen you choose sets how hard the projector has to work. A smaller screen in a controlled room will look better than a larger screen in a bright one, every time. If you take one thing from this section, take that.
Throw ratio, seating distance, and image size
Throw ratio is the number that decides whether a projector can physically live in your room. It describes distance divided by image width: a throw ratio of 1.2 means the projector needs 1.2 feet of distance for every foot of image width. So a 120-inch screen, which is roughly 8.7 feet wide, needs about 10.5 feet of throw at that ratio. Short throw projectors cut that number dramatically, which is what makes them useful in bedrooms and small apartments where the seating is close to the wall.
Zoom and lens shift are the features that make an install adjustable. Zoom changes image size without moving the projector. Lens shift moves the image up, down, or sideways optically, without distorting it, which is how you place a projector off-center or high on a wall and still get a square picture. Vertical offset, the amount the lens throws the image above or below its own axis, is what lets a ceiling mount work without pointing the projector down at an angle.
Here is the order that saves the most rework:
- Measure the wall you plan to use and the ceiling height above the intended seating.
- Pick the image size first, based on how far the closest seat sits from the screen.
- Convert that size into required throw distance using the projector's throw ratio.
- Check whether the projector offers zoom and lens shift, since those buy back placement flexibility.
- Plan power, cable routing, and the mount position before anything goes on the wall.
Practical guidance for a real install
- Control the light before you upgrade the hardware. Curtains and blinds change an image more than a step up in projector class does.
- Treat the wall behind and around the screen. A dark, matte surround stops the image from fighting reflected light at its edges.
- Mount on structure. A joist or a properly rated anchor, not drywall alone, and confirm the weight rating before you hang anything.
- Keep vents clear. A projector that runs hot gets louder and shortens the life of whatever light source it uses.
- Test with the lighting you will actually use. A calibration that only works in a blacked-out room is not much use in a living room.
Which option should you choose?
Choose the Portable Smart Projector [Bundled with Google TV Stick 14.0 & 4K Support & Dolby] with WiFi and Bluetooth HDR10,Ceiling Mini Movie Short Throw Projector Outdoor Auto Focus for Home Theater Bedroom when you want one device that streams on its own, moves between rooms, and needs auto focus to stay usable. Choose the Projector Screen 120 inch,Outdoor Projector Screen with 3-Layers PVC when the same screen has to work indoors and outside, or when your room is small enough that a 150-inch image would overwhelm it. Choose the Projector Screen 150 Inch when you have a dedicated wall, a long seating distance, and a projector with the output to fill that area. Choose the Universal Projector Ceiling Mount - White when the projector is staying in one room and you want the lens square to the screen without keystone correction.
One caveat worth stating plainly: nothing here substitutes for checking your own room. Brightness claims, resolution claims, and screen gain figures are only meaningful against a specific distance, a specific screen size, and a specific amount of ambient light. Measure your space first, then buy.
The bottom line
The projector gets the attention, but the screen, the mounting position, and the light in the room decide what you actually see. Work out the image size and the throw distance first, choose the screen that fits those numbers, and mount the projector square to it. Do that and almost any decent projector will look better than a flagship pointed at a bare wall. Skip it and the opposite is true.