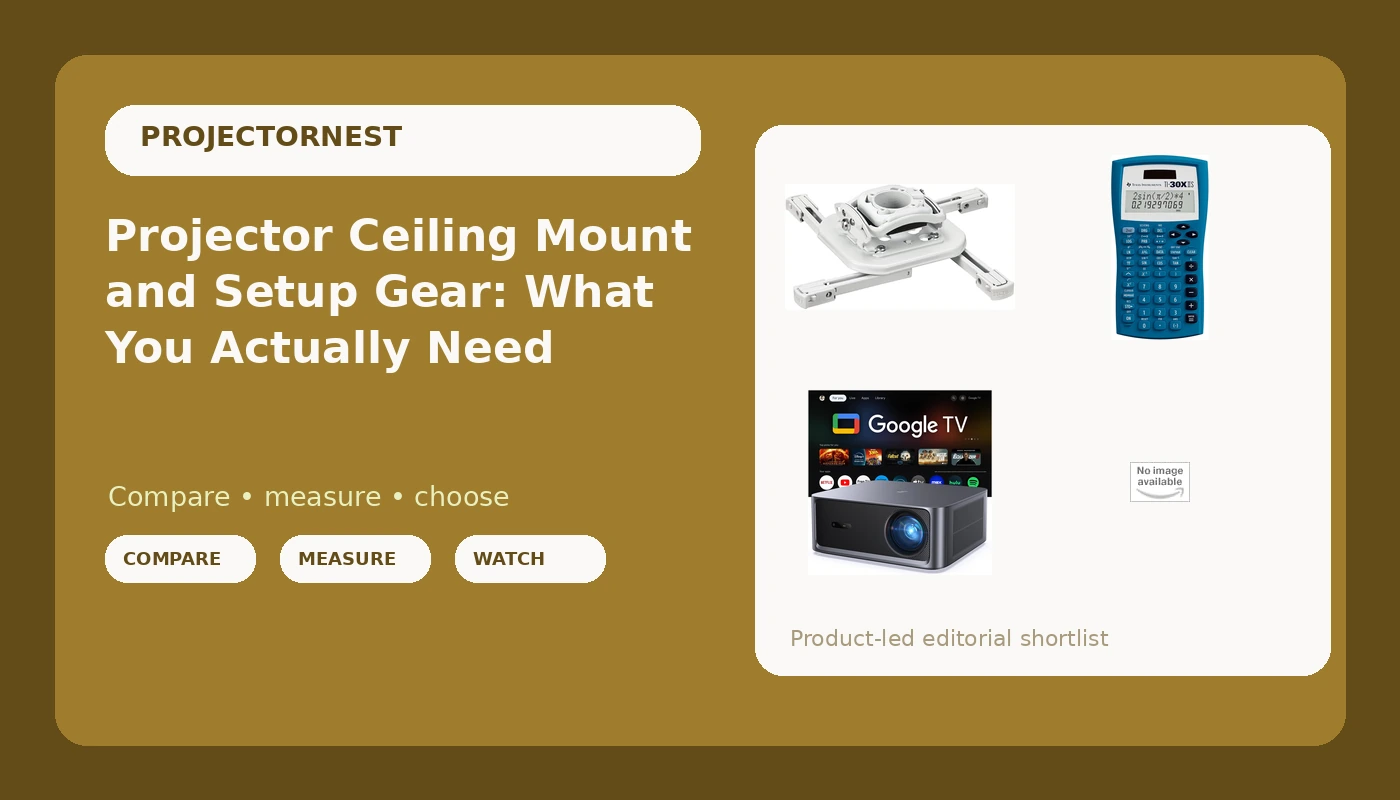
Almost every projector complaint I get called about is not really a projector problem. It is a geometry problem. The image sits too high. The corners bow into a trapezoid. The projector is eight inches too close to fill the screen size the owner already bought. People spend three weeks comparing projectors and about nine minutes thinking about the projector ceiling mount, which is the part that decides whether the picture lands where it belongs.
This is an explainer, not a ranking. Four pieces of gear cover the whole chain: the projector that makes the light, two very different mounts that hold it, and the small calculator that keeps the throw math from turning into a second round of holes in your ceiling. Every product below is described by what its listing actually says, and where a number is a manufacturer figure rather than a measured one, I say so.
Related: How to Choose a Projector Screen Size for Your Room →
Quick answer
The projector sets your brightness ceiling, the mount sets your geometry, and the math decides whether those two agree. If you cannot control the light in your room, spend on brightness before you spend on anything else. If your image is crooked, too high, or too small, a better projector will not fix it, only a mount with real adjustment range will.
Four useful options
| Model | Best fit | What stands out |
|---|---|---|
| HAPPRUN 3000 ANSI Lumens Outdoor Projector with Official Google TV | A living room or patio where you want streaming apps without a separate stick | Built-in official Google TV, and a brightness figure quoted in ANSI lumens rather than marketing lumens |
| Universal Projector Ceiling Mount - White | One projector, flat ceiling, image already lines up where you want it | Simple universal bracket in a white finish that blends into the ceiling |
| Chief RSMBUW Rpa Mini Elite Universal Projector Mount Lock B White | Installs where the image has to be dialed in precisely and then stay put | Adjustable, locking design from a mount brand aimed at professional installs |
| Texas Instruments TI-30XIIS Scientific Calculator, Blue | Working out throw distance, image height, and diagonal math before you drill | Scientific functions for the trig and unit conversions an install involves |
The light source: HAPPRUN 3000 ANSI Lumens Outdoor Projector with Official Google TV
Two things matter here. First, the brightness is stated in ANSI lumens. That is the measurement standard, and a brand willing to use the term is at least playing the same game as everyone else. It is still a manufacturer rating, not a number I measured in a blacked-out room, so treat it as the ceiling of what the projector can do and not the floor. Second, official Google TV means the streaming interface is licensed and updated by Google, which is a different experience from the off-brand app stores you find on cheap projectors.
The trade-off is that an all-in-one projector makes its own decisions for you. You get the apps and the speaker and the wireless in one box, and you give up the ability to swap any one of those parts later. If you are building toward a dedicated room with a receiver and separate sources, that bundling is dead weight. If you want a projector you can carry to the patio and have running in five minutes, it is the entire point.
The everyday mount: Universal Projector Ceiling Mount - White
This is the mount most people picture when they picture a projector mount, and for plenty of rooms it is enough. You bolt a plate to a joist, attach the projector, and you are done. The catch is that a fixed bracket gives you very little room to correct a mistake. If the projector hangs two inches too low or the image is a hair off level, your options are shims, a re-drill, or keystone correction that eats resolution to fake a fix.
Before you buy, confirm two things the listing does not settle for you: the weight rating of the bracket and the hole spacing on the bottom of your projector. Universal means "fits many," not "fits all," and a mount that technically holds the projector but cannot reach your projector's threaded inserts is a return waiting to happen.
The install-grade mount: Chief RSMBUW Rpa Mini Elite Universal Projector Mount Lock B White
The difference between this and a basic bracket is not the metal, it is the range of motion. When a mount lets you roll, pitch, and rotate the projector head independently, you can square up an image without touching the ceiling plate, which means you can also fix it later without new holes. That adjustment range is what you are paying for, and it is the reason a mount in this class often costs more than the projector it holds in a budget build.
The honest caveat is that a premium mount does not make a bad room good. It will not add brightness, it will not fix a screen hung off-center, and it will not rescue a projector that is simply too far from the wall for the size you want. What it does is remove geometry as a variable, so every problem left over is a problem you can actually diagnose.
Prices and availability may change. Product images, names, and retailer links must be matched by verified ASIN. Do not state a current price, rating, stock status, or measured result without current evidence.
The install math: Texas Instruments TI-30XIIS Scientific Calculator, Blue
Here is the pitch. A 16:9 image that is 120 inches on the diagonal is not 120 inches wide, and the vertical offset between the lens and the top of the screen is not something you want to eyeball while holding a projector over your head. Throw ratio tells you the distance you need per foot of image width. Screen dimensions come from the diagonal and the aspect ratio. Both are two-minute calculations and both are miserable to do in your head while standing on a ladder.
A phone calculator works too, and if that is what you already have, use it. The case for a dedicated scientific calculator is that it stays in the bag, it does not ring, and its keypad is built for the kind of multi-step math an install involves instead of the one-off sums a phone is designed for. It is a tool, not a requirement.
What ANSI lumens actually mean
Brightness is the one projector spec that decides whether you enjoy the thing. It is also the most abused number on the box. You will see "light source lumens," "peak lumens," and plain "lumens" printed in enormous type, and none of those are the measurement the industry uses to compare projectors. ANSI lumens is that measurement: a standardized procedure that averages readings across the image rather than cherry-picking the brightest spot in the center.
That distinction matters because the gap between the two numbers is often large. A projector advertised at several thousand "lumens" can measure far lower once you use the standardized method. So when a listing states ANSI lumens, you are comparing apples to apples for once, even if the figure is still the manufacturer's own rating rather than a third-party measurement.
Then there is the room, which beats every number on the spec sheet. A modest projector in a room with controlled light will look better than a bright one fighting a window. If you cannot darken the space, aim higher on brightness and accept that contrast will suffer. If you can darken it, you can spend less on lumens and more on the mount and the screen.
Why the mount decides how good your image looks
Keystone correction is the feature everyone uses and nobody should need. When a projector is not square to the screen, the image becomes a trapezoid, and keystone digitally warps it back into a rectangle. That warp resamples the image, which softens it, and it is a correction for a mechanical problem. A mount with real adjustment range lets you fix the geometry physically, so keystone can stay at zero.
The other mount variable is drop. Projectors throw light upward or downward relative to the lens, and if your screen is mounted at the wrong height, no amount of tilting fixes it cleanly. Knowing the vertical offset before you drill means you can hang the screen and the mount in the right relationship the first time.
- Measure the wall and decide the screen size, then convert the diagonal to actual width and height using the aspect ratio.
- Find the projector's throw ratio in its listing or manual, and multiply by the image width to get the required lens-to-screen distance.
- Check the vertical offset so you know how far above or below the screen's top edge the lens needs to sit.
- Locate a ceiling joist with a stud finder, mark it, and confirm the mount's plate will reach it with the projector centered on the screen.
- Hang the screen first, mount the projector second, then align with the mount's adjustment range and leave keystone at zero.
Getting the install right the first time
- Measure the room before you buy anything, including the distance from your seating to the wall. Throw distance is not negotiable.
- Confirm the mount's weight rating and hole pattern against your specific projector, because universal brackets still have limits.
- Run cables before the projector goes up, and leave a service loop long enough to lower the unit without unplugging everything.
- Skip keystone if you can. A few minutes with an adjustable mount beats a permanently softened image.
- Write down your final throw distance and screen size. The next time you change projectors, that note is worth more than the manual.
Which option should you choose?
Choose the HAPPRUN 3000 ANSI Lumens Outdoor Projector with Official Google TV when you want one box that streams, moves between rooms, and quotes brightness in a unit you can compare. Choose the Universal Projector Ceiling Mount - White when your ceiling is flat, your image already lines up, and you want a clean white bracket without paying for adjustment range you will not use. Choose the Chief RSMBUW Rpa Mini Elite Universal Projector Mount Lock B White when the install has to be precise, adjustable after the fact, and secure in a shared space. Choose the Texas Instruments TI-30XIIS Scientific Calculator, Blue when you would rather compute throw distance than guess at it.
One caveat that applies to all four: nothing here is a substitute for your own room. Brightness ratings are manufacturer figures, mount compatibility depends on your projector's specific hole pattern and weight, and the best math in the world will not save a screen hung off-center. Verify the specs against your actual gear before you order.
The bottom line
The projector determines how much light you have to work with, and the mount determines whether that light lands in a rectangle. Get the brightness right for your room, get a mount with enough adjustment to square the image physically, and do the throw math before you pick up a drill. Buy the pieces in that order and you will only hang the projector once.