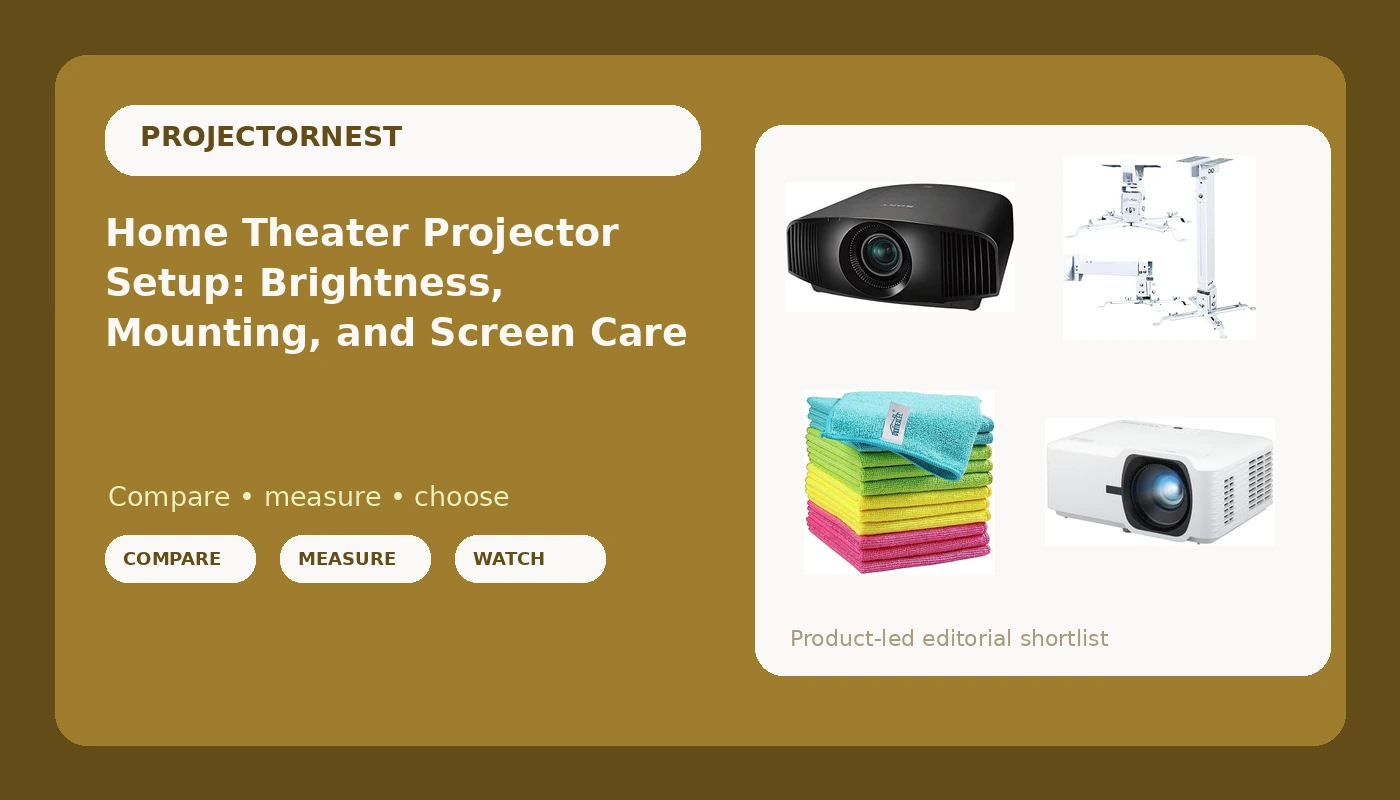
Most people buy a projector backwards. They fall for a spec sheet first, then discover the room they actually own cannot support the hardware they ordered. A home theater projector setup is really three decisions stacked on top of each other: how much light the room throws at the screen, how much brightness the projector can throw back, and whether the bracket holding it can put the image exactly where it needs to be.
Get those three right and a mid-priced projector looks terrific. Get them wrong and an expensive one looks like a fog bank. This guide covers the four pieces that do the most work in a real installation: two projectors built around very different priorities, the mount that makes precise placement possible, and the cheap upkeep item that protects the lens you just paid for.
Related: ANSI Lumens vs Marketing Lumens: How to Read a Projector Spec Sheet →
Quick answer
Match the projector to the room before you match it to your budget. If the room has windows you cannot black out, put your money into light output and accept a lower resolution if you have to. If you have a dark, dedicated room, resolution and contrast buy you more than raw brightness. In every case, budget for a real mount and a cleaning routine, because a projector that drifts on its bracket or wears a hazy lens never performs the way its spec sheet suggests.
Four useful options
| Model | Best fit | What stands out |
|---|---|---|
| ViewSonic LS740HD 1080P Laser Projector | Rooms where some ambient light is unavoidable | Laser light source and a manufacturer rating of 5500 lumens |
| Sony VW325ES 4K HDR Home Theater Projector | Dark, dedicated rooms where resolution is the priority | 4K HDR projection built for home theater use |
| Projector Ceiling/Wall Mount with Extendable Arm | Getting the image positioned precisely | Adjustable height pole, extendable arm, quick release |
| HOMEXCEL 12PK Microfiber Cleaning Cloth | Routine lens and screen upkeep | Twelve microfiber cloths at 11.5 x 11.5 inches |
The bright-room workhorse: ViewSonic LS740HD 1080P Laser Projector
This is the projector you look at when your room refuses to cooperate. A laser light source removes the lamp replacement cycle from your budget entirely, which changes the math on ownership over several years. The listed 5500 lumens is a manufacturer figure, not an ANSI measurement, so treat it as a starting point rather than a guarantee. If a brand publishes ANSI lumens, you can compare across models honestly. If it publishes a single big number with no standard attached, assume the real figure is lower.
The trade off is resolution. This is a 1080p projector, and on a 100-inch screen at a normal seating distance, 1080p is genuinely sharp. Where it falls short is on very large screens or front-row seating, where the pixel structure starts to show. If your room has a lamp, a window, or a hallway light you cannot eliminate, that trade is usually worth making. Brightness you can see beats resolution you cannot.
The dedicated-room pick: Sony VW325ES 4K HDR Home Theater Projector
4K only pays off under specific conditions, and it is worth being honest about them. You need a screen large enough and a seat close enough that your eye can resolve the extra detail. At 120 inches and ten feet back, the difference between good 1080p and true 4K is visible on fine textures, foliage, fabric, and hair. At 80 inches from fifteen feet, you are paying for something your eye will not collect.
HDR is the more interesting part, and it is also the more demanding one. High dynamic range depends on the projector having headroom to push highlights while keeping blacks deep, and any ambient light in the room destroys that headroom instantly. This is a projector that wants dark walls, dark ceiling, and light control you actually use. Put it in a room with white walls and a window, and you have bought capability you cannot see. Put it in a treated room, and it rewards the effort.
The install hardware: Projector Ceiling/Wall Mount with Extendable Arm
This is the least glamorous purchase in the whole setup and the one most likely to ruin it. A projector balanced on a shelf, tilted with a stack of paperbacks, cannot hold geometry. Every time someone bumps the shelf, you are back in the menu nudging keystone, and keystone correction costs you resolution because it resamples the image.
The adjustable pole and extendable arm matter for a practical reason: the image has to land on the screen at the right height without you tilting the projector body. Vertical offset comes from mounting position, not from aiming the lens upward. The quick release is a small convenience that becomes a big one if you ever need to pull the unit down for filter cleaning or a firmware update. Before you buy any bracket, check the mounting hole pattern and weight limit against your specific projector, because universal kits cover a range rather than every model.
The upkeep basic: HOMEXCEL 12PK Microfiber Cleaning Cloth
Dust on a lens does not look like dust. It looks like a soft, milky haze across the entire image, and it is easy to blame the projector for it. Paper towels, tissue, and the corner of a T-shirt are all abrasive enough to leave fine scratches on coated optics, and those scratches never come out.
The reason to keep a stack of dedicated microfiber cloths is discipline: one cloth for the lens, one for the screen, one for the housing, and a fresh one when the first gets loaded with dust. A twelve-pack at this size means you can rotate them through the wash instead of reusing a dirty cloth on the one surface you cannot replace. Use them dry on optics, and never spray cleaner directly onto a lens.
Prices and availability may change, and retailers update listings without notice. Confirm current specifications, included accessories, and compatibility with your projector before ordering.
Why ANSI lumens and room light decide the picture
Brightness is the only specification that interacts with every other one. Contrast, color accuracy, and HDR all depend on the projector having enough light left over after the room takes its share.
The measurement that matters is ANSI lumens, which is taken across the full image rather than at its brightest point. A manufacturer can quote a peak center reading, a "light output" figure, or a number produced under conditions you will never reproduce, and all of those can be far above the ANSI number. When a listing gives you a single large figure with no standard named, that is a signal, not a specification.
The room sets the floor. A fully blacked-out room with dark surfaces might only need 1,500 to 2,000 ANSI lumens to look punchy on a 100-inch screen. Add a single unshaded window and the same projector turns grey and washed out. Add a white ceiling and light bounces back onto the screen from above, lifting the blacks even after dark.
This is why the order of operations matters. Measure your room's light first, then decide how much brightness you need, then decide how much resolution you can afford with what is left. A modest projector in a controlled room beats a premium one in a bright room, every single time, and no specification on the box changes that.
Mounting geometry: throw ratio, height, and the bracket nobody budgets for
Throw ratio tells you how far the projector has to sit from the screen for a given image size. A ratio of 1.2 means 1.2 feet of distance for every foot of image width, so a 100-inch wide image needs roughly ten feet of throw. Do this calculation before you buy, not after, because it decides whether the projector lives on the back wall or hangs in the middle of the ceiling.
Height is the other half. Most projectors project upward from the lens, so a ceiling mount uses that offset to place the image on the screen. If the required offset does not match your ceiling height and screen position, you either move the screen or add a drop pole. Tilting the projector to compensate forces keystone correction, which resamples the image and softens it.
Then there is structure. A projector bracket has to bite into a joist, a stud, or a proper blocking plate. Drywall anchors alone will not hold a projector plus a mount plus the vibration of a household. Locate the framing first, then choose where the image lands, not the other way around. If the joists run the wrong direction, a wall mount is often the cleaner answer, and the wall needs the same stud check.
The order of operations for a one-day install
- Measure the room: screen wall width, ceiling height, seating distance, and where the joists or studs actually are.
- Choose the screen size based on the furthest seat, then work backward to the required throw distance using the projector's published throw ratio.
- Confirm the mount can hold the projector's weight and match its mounting hole pattern before you drill anything.
- Install the bracket into framing, hang the projector, and set the image with the lens centered and the projector level rather than tilted.
- Watch something after dark and adjust brightness, contrast, and color temperature in your actual room, because a test pattern in daylight tells you almost nothing.
Practical habits that keep a projector looking good
- Black out what you can. Curtains, blinds, and a dark screen wall buy more image quality than any upgrade.
- Clean the lens dry with microfiber, and never spray cleaner onto the glass.
- Keep the intake and exhaust clear of dust and give the vents room to breathe.
- Recheck the mount after the first month, then once a year, since hardware settles.
- Reconfirm the image after any furniture move, because seating distance changes how much detail you can actually see.
Which option should you choose?
Choose the ViewSonic LS740HD 1080P Laser Projector when your room has light you cannot fully control and you want a laser light source with a high manufacturer brightness rating. Choose the Sony VW325ES 4K HDR Home Theater Projector when you have a dark, dedicated room, a large screen, and seating close enough that 4K HDR detail is something your eye can collect. Choose the Projector Ceiling/Wall Mount with Extendable Arm when you need the image placed precisely without tilting the projector body. Choose the HOMEXCEL 12PK Microfiber Cleaning Cloth when you want a dedicated, replaceable cloth for lens and screen upkeep instead of whatever is closest to hand.
The caveat worth repeating: none of these choices fixes a room that fights back. Light output ratings are manufacturer figures unless a standard is named, and mounting compatibility depends on your specific projector's hole pattern and weight. Verify both against your own room and hardware before you commit.
The bottom line
A home theater projector setup is a system, not a purchase. Brightness determines whether you can see the image at all, mounting determines whether it is sharp and square, and upkeep determines whether it stays that way. Sort the room first, pick the projector that matches its light levels, and spend the small money on a proper bracket and a stack of microfiber cloths. That combination outperforms a bigger budget spent in the wrong order.